Up Next: JavaScript in the Browser
Module 3 gave you the tools for bigger programs (closures, classes, your own errors, the debugger and modules); this lesson shows which one fits which job, the Virtual Pet project that uses them all, and how Module 4 puts your code in charge of a web page.
Apprentice · JavaScript · Software Development · Updated
After this lesson you can
- Choose the Module 3 tool that fits a job, such as a closure, a class, try and catch, throw, the debugger or a module
Key takeaways
- A closure keeps private state in a function; a class is a blueprint for many objects with their own data and methods.
- try and catch handle errors, throw reports your own, and a custom error class gives them a name you can check.
- The debugger finds a value that goes wrong, and modules split a program into files that each do one job.
- Module 4 moves your code from the terminal onto a web page, where it changes what people see and answers their clicks.
You've finished the module that explains the bugs that confuse almost everyone, and it changes how you read code. When a value seems "wrong", a this comes out undefined or a program stops with a stack trace, you now know where to look and what to try. This lesson puts the module's tools side by side, shows you the project that uses every one of them, and gives you a first look at Module 4.
What you can do now
| The tool | What it's for | Where you used it |
|---|---|---|
| Scope and closures | A function that remembers its own private values, such as a counter nobody else can change | Exercise: Arcade Token Counters |
this and methods |
Functions that belong to an object and work on its data | Exercise: Space Fleet |
Classes, #private fields, getters and setters |
A blueprint for many objects of the same kind, each guarding its own data | Exercise: Space Fleet |
extends and super |
A new kind of object built on an existing one, such as a Fighter that is a Ship |
Exercise: Space Fleet |
try, catch, finally |
Carrying on when something goes wrong, and cleaning up either way | Exercise: Recipe Scaler |
throw and custom errors |
Refusing a bad value with a clear message and a name you can check | Exercise: Recipe Scaler |
| The debugger | Pausing a program to watch its values and find the line where one goes wrong | Debugging with Breakpoints |
| Modules | Splitting a program into files that each do one job and share what they export | Exercise: Recipe Scaler |
Which tool fits?
When you plan a program, each part of the job points to a tool:
- Many things of the same kind, each with its own data (ships, pets, players): a class.
- One private value a function keeps between calls (a counter, a high score): a closure, or a
#privatefield when it belongs to a class. - A value your code can't use (
-2servings, a pet fed while it's asleep): throw an error, with a custom error class when the caller needs to tell it apart. - Code that might fail because of the outside world (a damaged file, bad text from a form): wrap it in try and catch.
- A wrong answer with no error message: set a breakpoint and use the debugger.
- A file that's grown too long, or code another file needs: split it into modules.
The project: Virtual Pet
Module 3's project is a pocket pet that lives in your browser, in the spirit of the egg-shaped toys of the 1990s. It gets hungry, sleepy and bored, and you look after it with three buttons: Feed, Play and Sleep. Each click is one turn. The page, its buttons and its pictures are handed over, ready to use. You write the pet:
- a
Petclass in its own module, with private#hunger,#energyand#happiness, getters to read them and setters that refuse values outside 0 to 100; feed(),play()andsleep()methods that change those numbers each turn;- a
Dragon extends Petwith a special move of its own; - your own errors, such as Your pet is asleep, when a button can't be used;
- a mood log, built with a closure, that remembers how your pet felt each turn.
Here's a taste, much smaller than the real thing, using only what this module taught:
class PetAsleepError extends Error {
  constructor(petName) {
    super(`${petName} is asleep. Let them wake up first.`);
    this.name = "PetAsleepError";
  }
}

class Pet {
  #hunger = 50;
  #asleep = false;

  constructor(name) {
    this.name = name;
  }

  get hunger() {
    return this.#hunger;
  }

  feed() {
    if (this.#asleep) {
      throw new PetAsleepError(this.name);
    }
    this.#hunger = Math.max(0, this.#hunger - 20);
  }

  sleep() {
    this.#asleep = true;
  }
}

const biscuit = new Pet("Biscuit");
biscuit.feed();
console.log(`${biscuit.name}'s hunger: ${biscuit.hunger}`);
biscuit.sleep();
try {
  biscuit.feed();
} catch (error) {
  console.log(error.message);
}
Biscuit's hunger: 30
Biscuit is asleep. Let them wake up first.
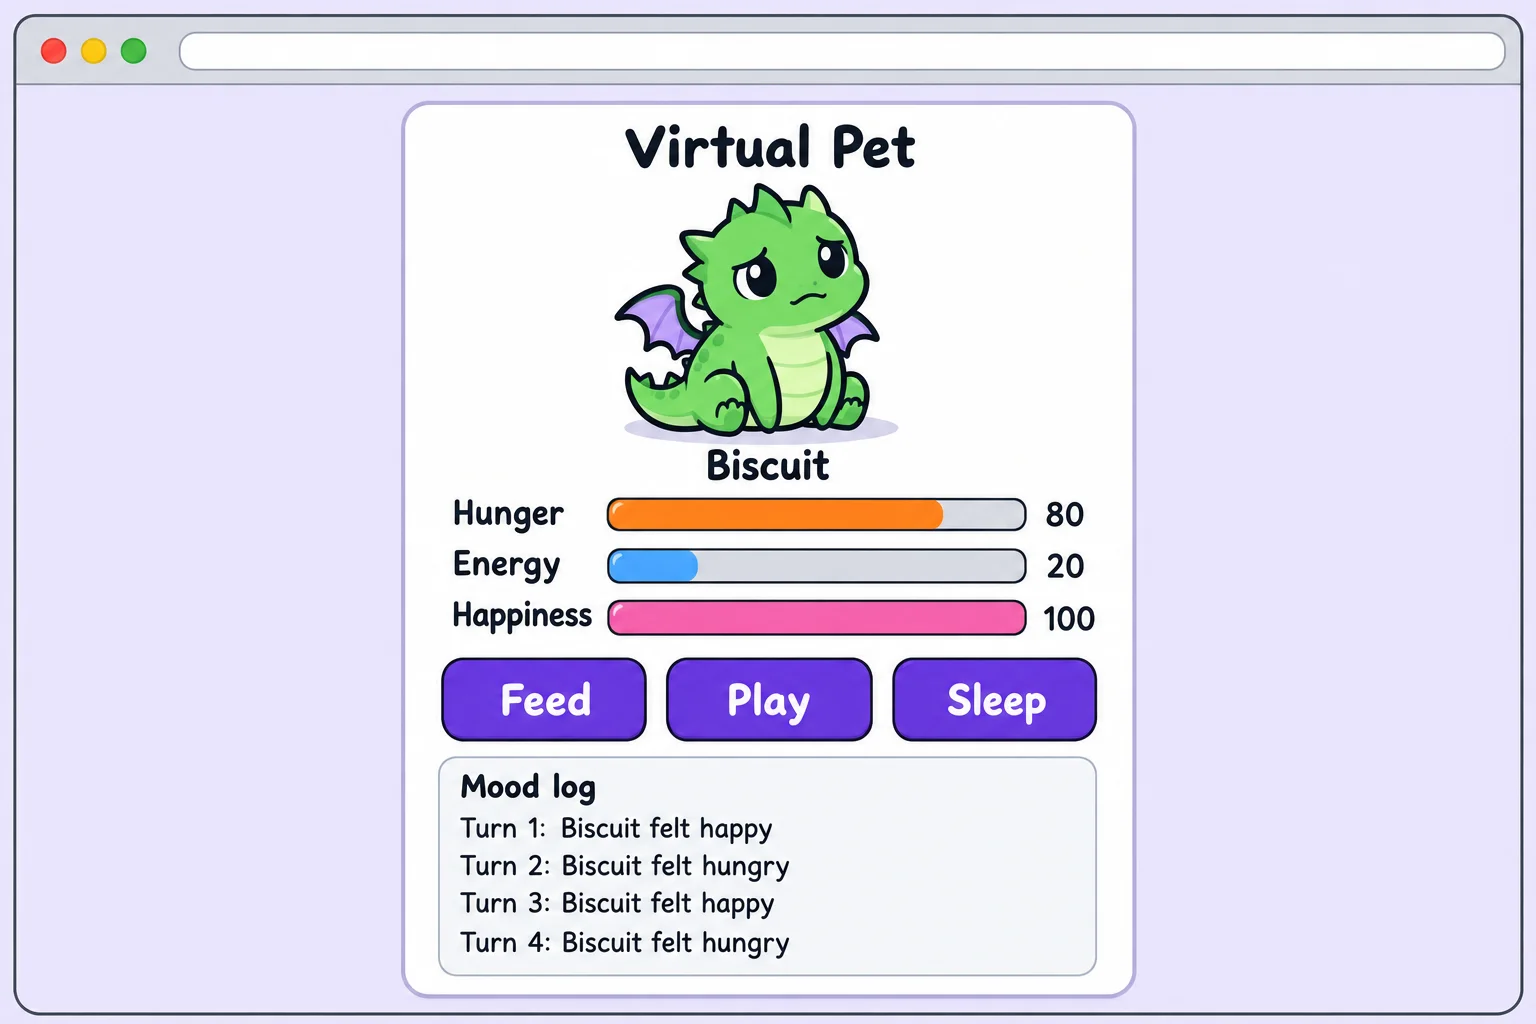
Tests check your classes as you build them, as in the exercises, and the finished pet is something you can show a friend.
Up next: your code on the page
Everything you've written so far prints to a terminal or the Console. In Module 4, your JavaScript changes the web page itself. The browser keeps a live model of the page, called the DOM (Document Object Model), and one line of JavaScript can change what's on the screen:
document.querySelector("#pet-status").textContent = "Biscuit is hungry!";
That line finds the part of the page whose id is pet-status and changes its text, straight away, with no reload.
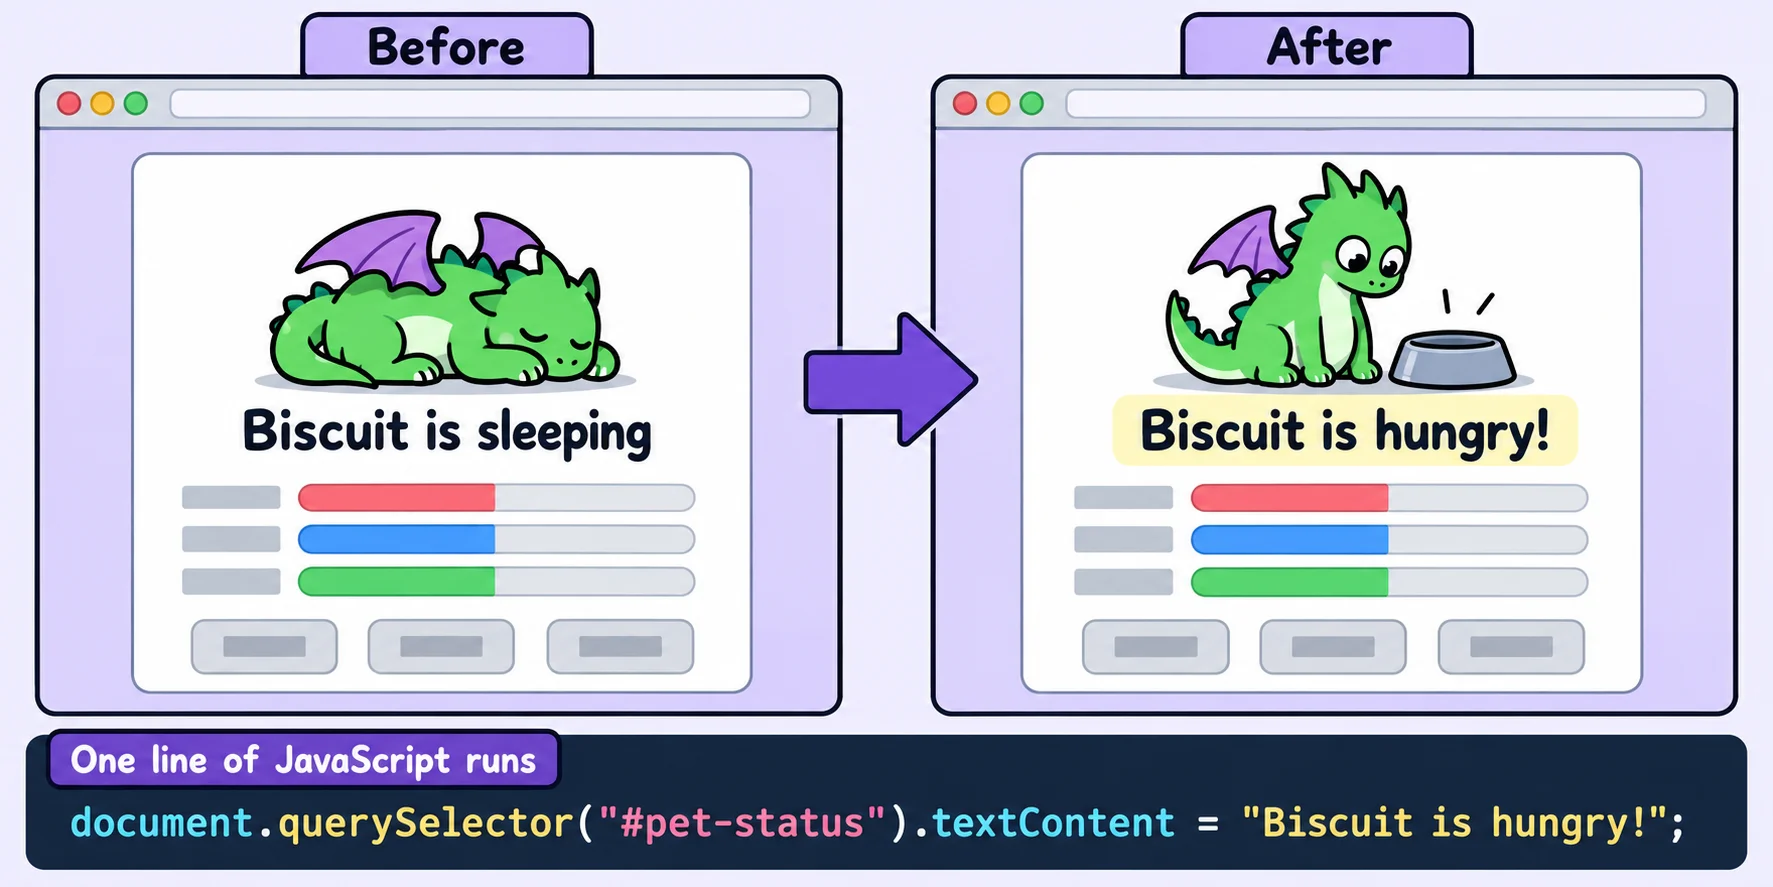
Module 4 starts with The HTML You Need for JavaScript and The CSS You Need for JavaScript, so you don't need to know HTML or CSS already. Then it teaches finding and changing elements, answering clicks and keys (for mouse and keyboard users), checking forms and remembering data in the browser, and ends with a project of your own: a photo gallery with filters, a lightbox and favorites that stay saved.
Check yourself
2 questions to try on the lesson page.
So what
Closures, classes, errors, the debugger and modules are what turn a script into a program you can grow. Next, that program gets a face: the web page people see and click.